

Ingredients
Method
For the sauce:
- Preheat the oven to 200˚C.
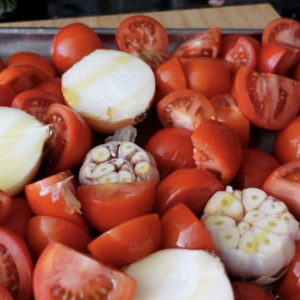
- Place all of the ingredients for the sauce on a tray lined with baking paper. Place into the preheated oven and roast for about an hour or until the tomatoes are soft and their skins just begin to blacken.
- Allow to cool slightly then blend everything together in a food processor. Season with salt to taste.
- Place the pumpkin on another tray skin side up, and bake for around the same amount of time as the tomatoes, or until it is fully cooked and tender. When the pumpkin is cooked, set aside to cool (the cooler the better, as it will make it easier to slice, so feel free to set it aside in the fridge while you prepare the remaining elements). Once cooled, remove the skin and slice a thin as possible, no more than 0.5mm thick.
For the ricotta:
- Pour all of the milk into a large saucepan or pot and bring to just barely a simmer. Add a decent pinch of salt until it is seasoned to your liking. Add the vinegar a little at a time and keep adding until the curds separate and the liquid is completely clear (it will be a greeny yellowish colour, but it wont be at all murky). Turn off the heat straight away and strain off the curds, saving 1/2 cup of the whey (you can keep the whey for other uses if you'd like).
- Transfer the curds to a food processor and blend until you get a smooth paste, similar to the consistency of yoghurt. If it's a little too thick, add a few splashes of the reserved whey. Taste and adjust the seasoning if required.
For the pasta:
- Add the eggs and flour to a food processor along with a decent pinch of salt and process until it start to clump into a ball. The dough should clump together when you squeeze it in your fist without being sticky. If it is a little dry, add a splash of water, or if it is a little too wet and sticky, add a little more flour and process again. It doesn’t matter how much you work the dough as you want to develop the gluten, so feel free to keep playing around with it until it feels right. Keep processing for another 30 seconds then tip out onto a clean work surface. Knead the dough for a minute or 2 until it is smooth and elastic.
- Wrap the dough in cling film and set aside to rest for at least half an hour. The reason we rest it is so the gluten relaxes which makes it easier to roll out. If we didn’t rest it the dough will be too tight, which causes the dough to shrink back or tear when we roll it out.
- Once rested, flatten the dough as much as you can with your hands or with a rolling pin then pass it through a pasta roller on the thickest setting. Fold it into thirds and pass it through the roller again, repeating this process another 3 or 4 times. This process helps develop the gluten further and is what gives the pasta its chewy texture or 'bite' once cooked.
- Continue rolling your pasta sheet through the machine, dropping the thickness on each pass until you reach number 5 on a KitchenAid pasta roller, or the equivalent in another brand.
To assemble:
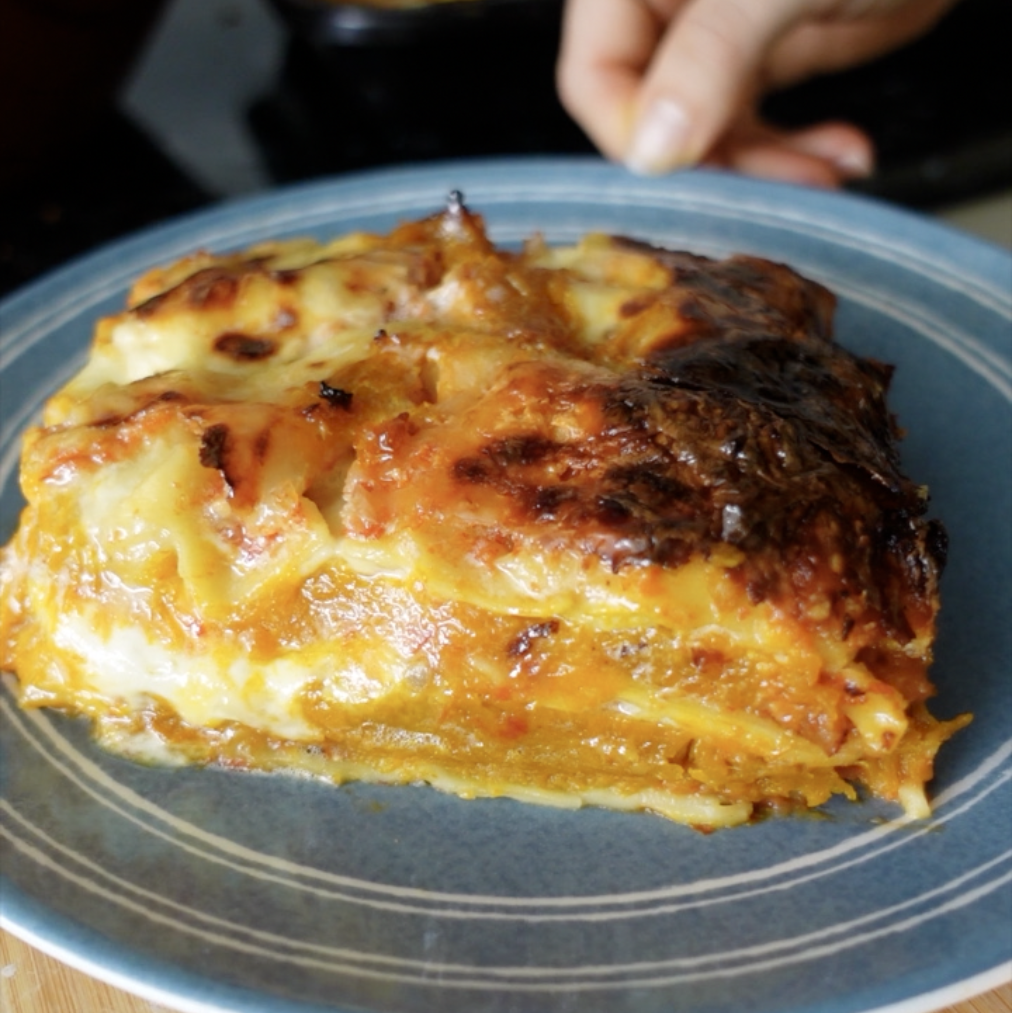
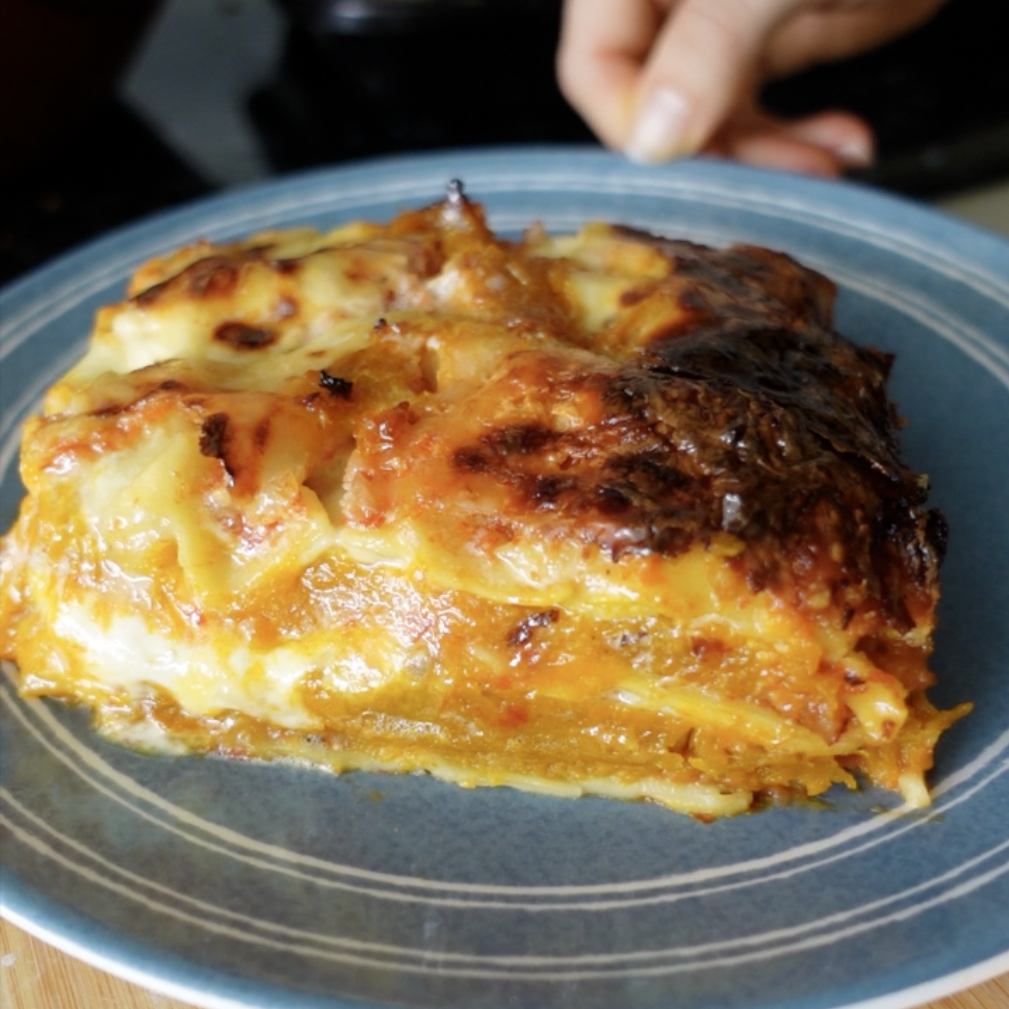
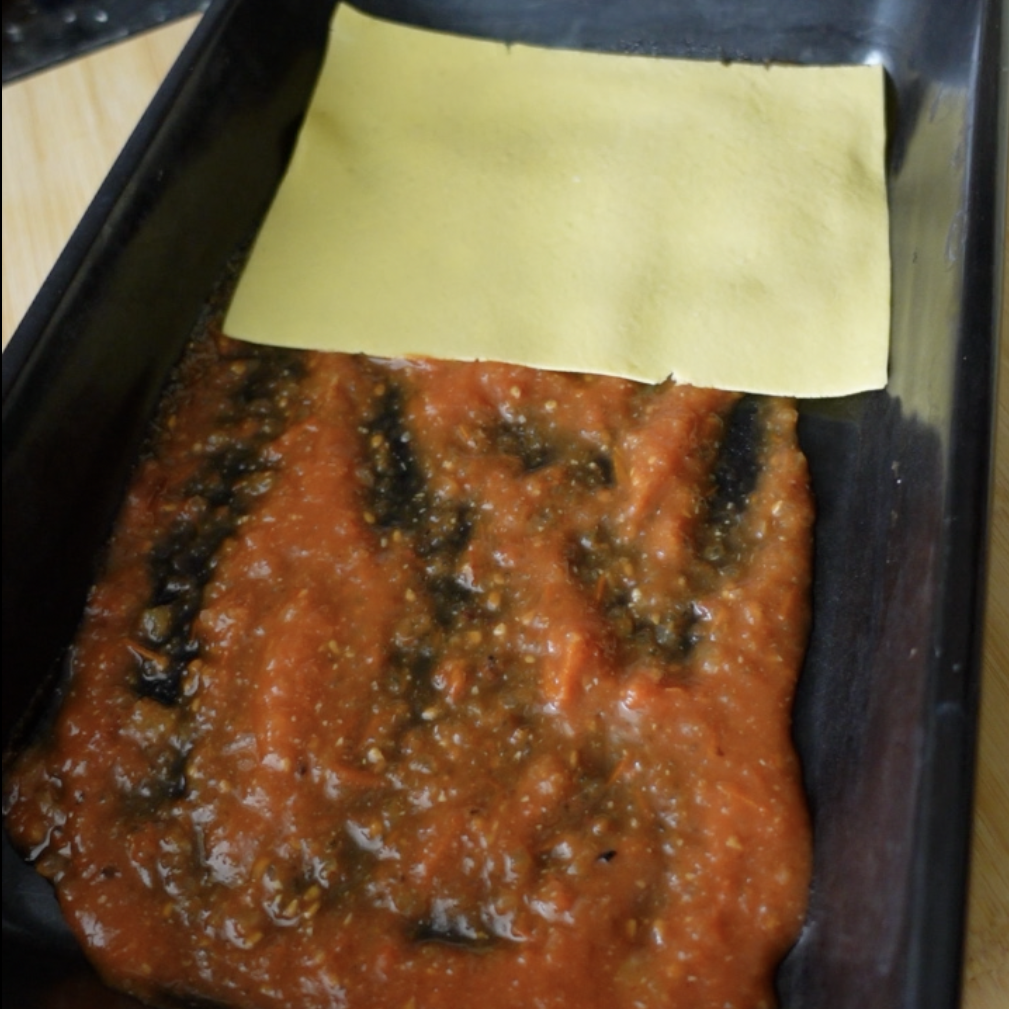
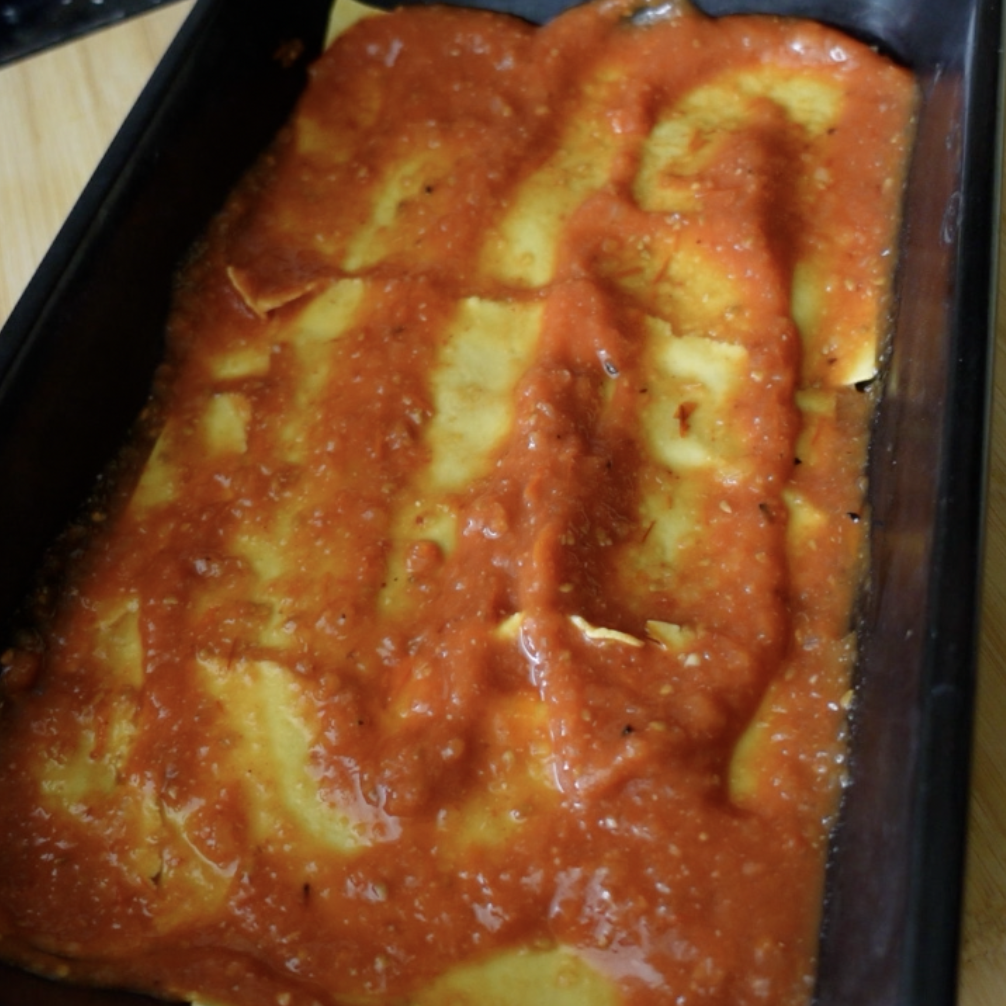
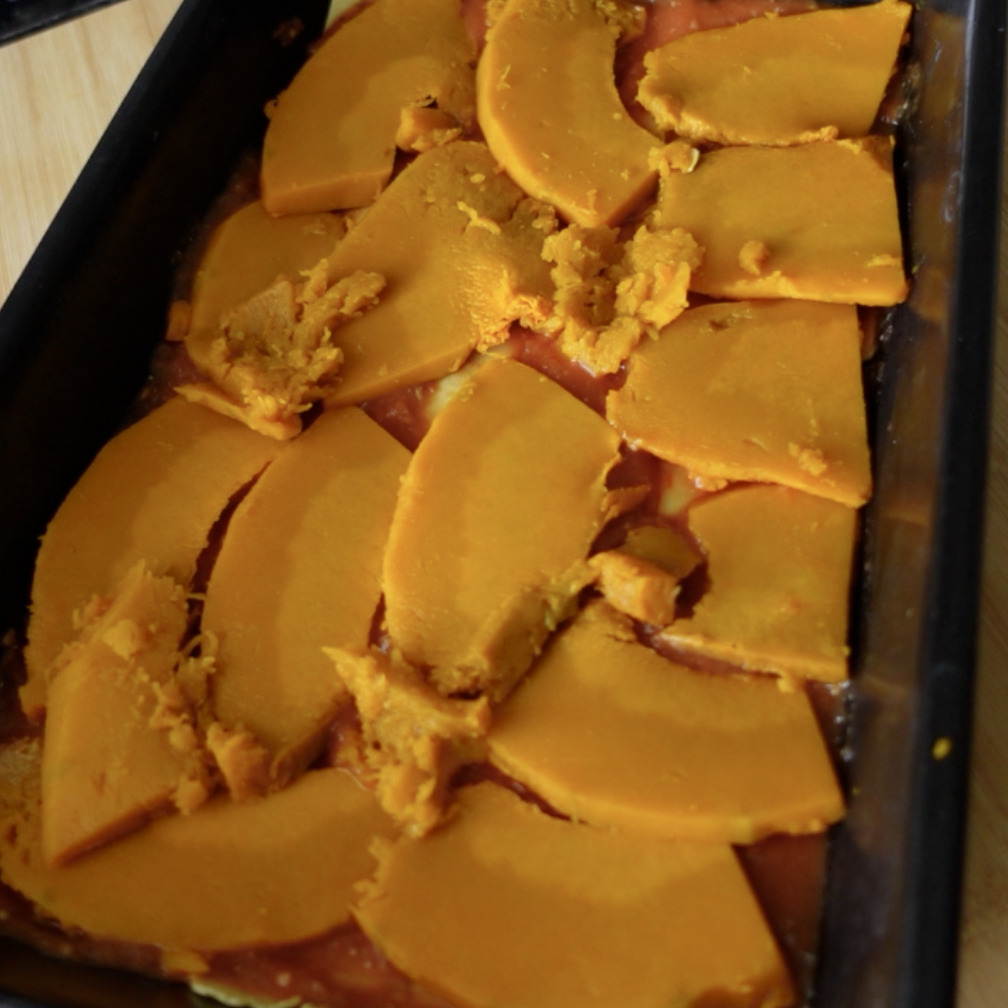
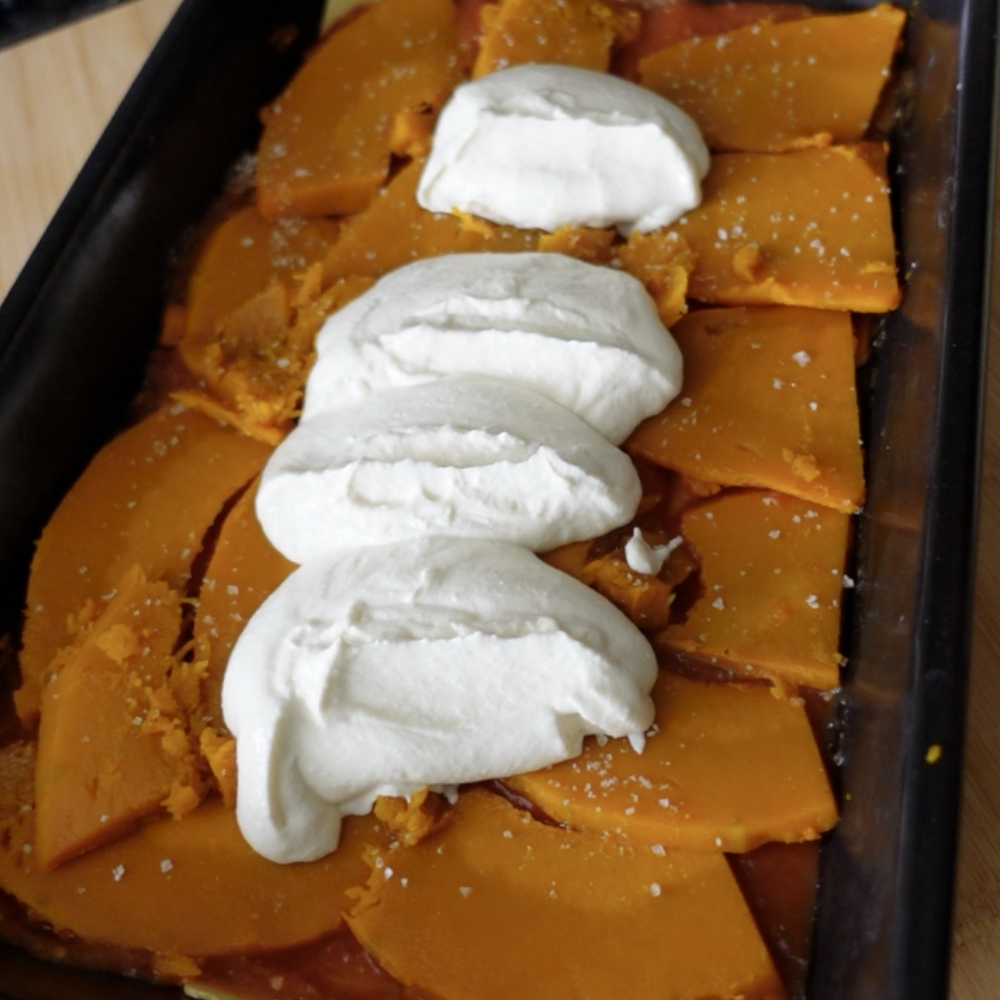
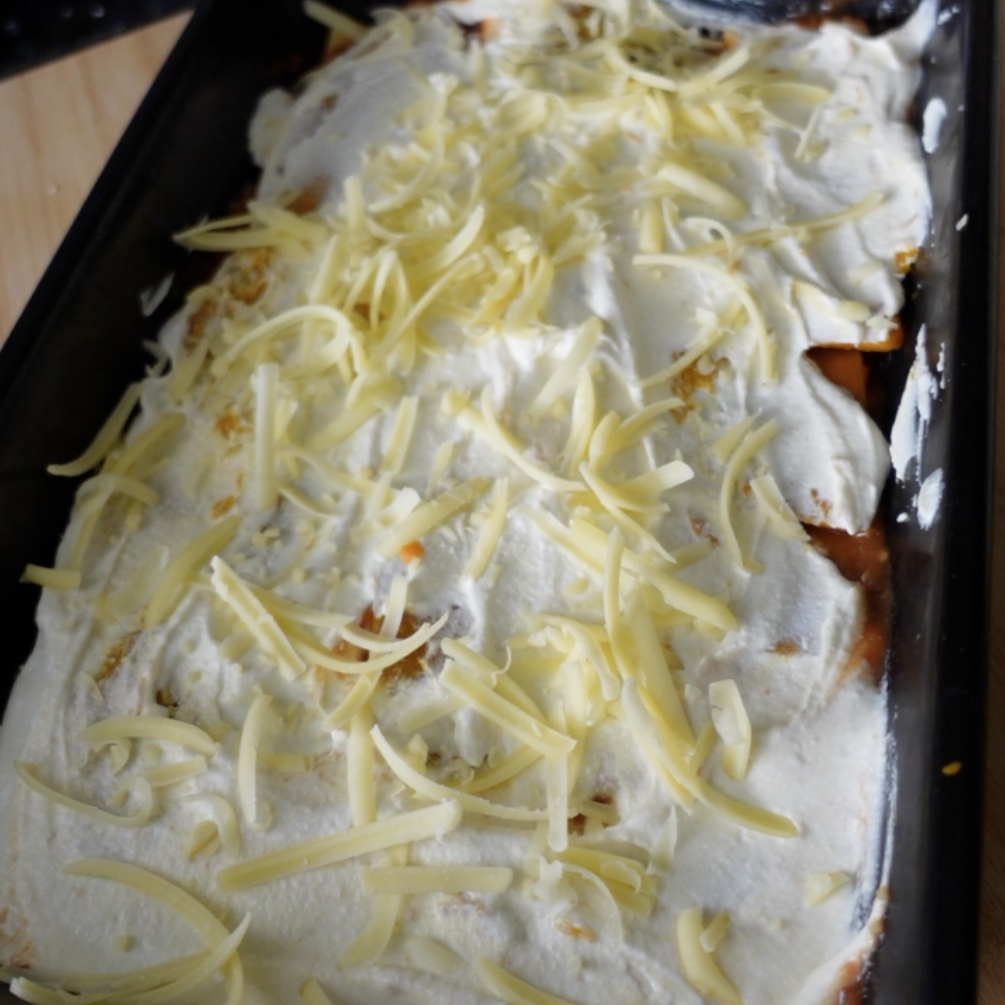
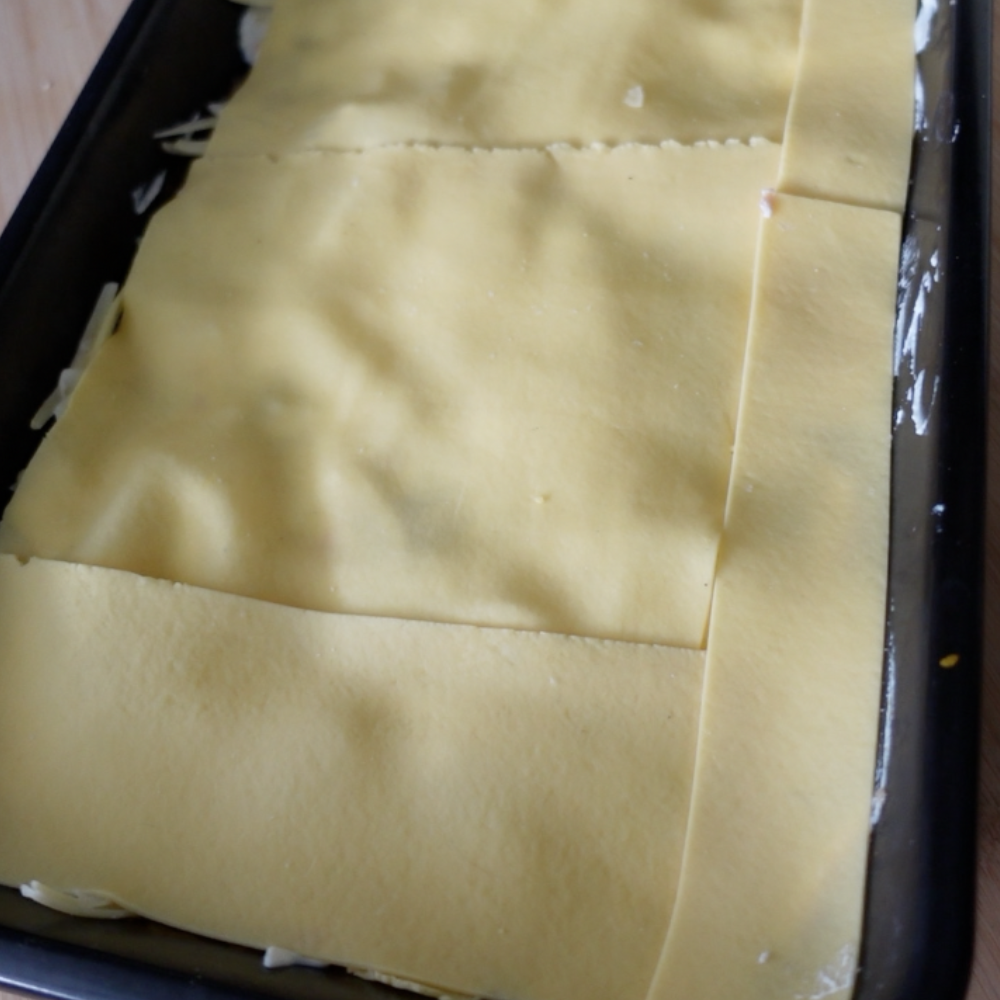
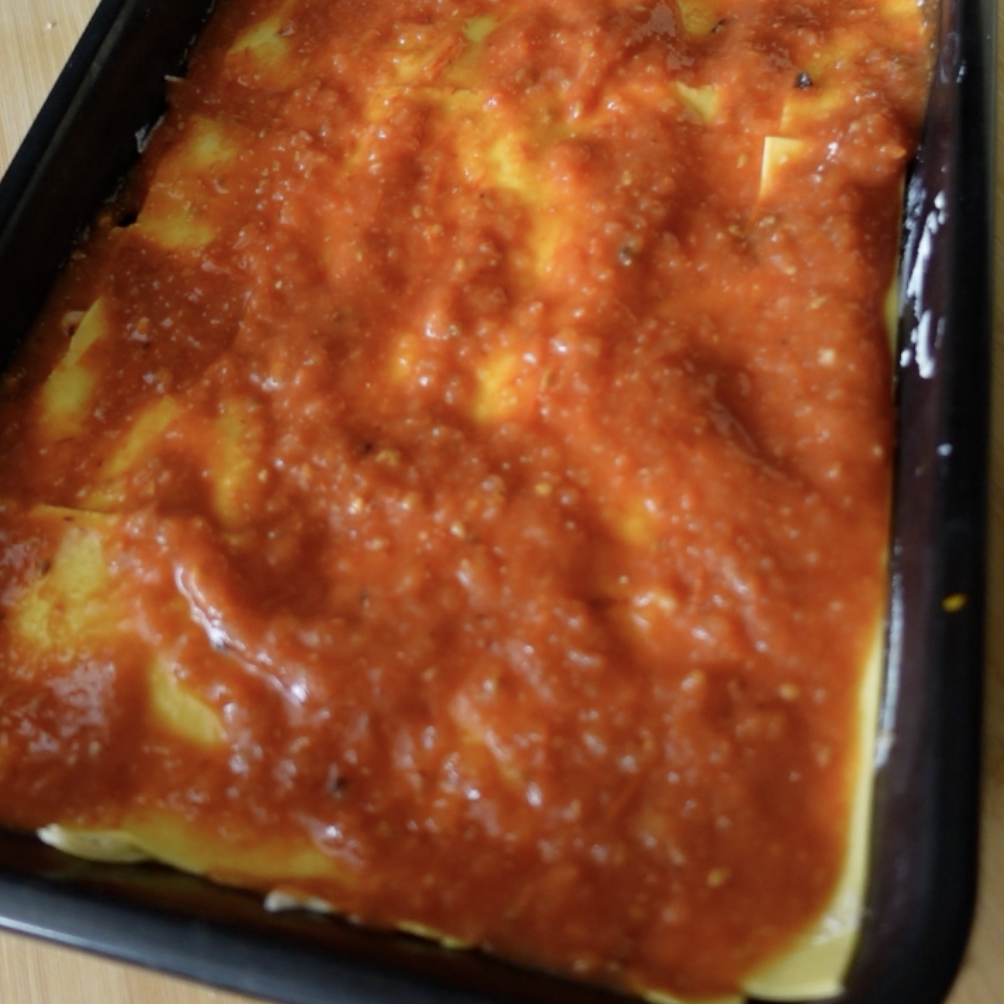
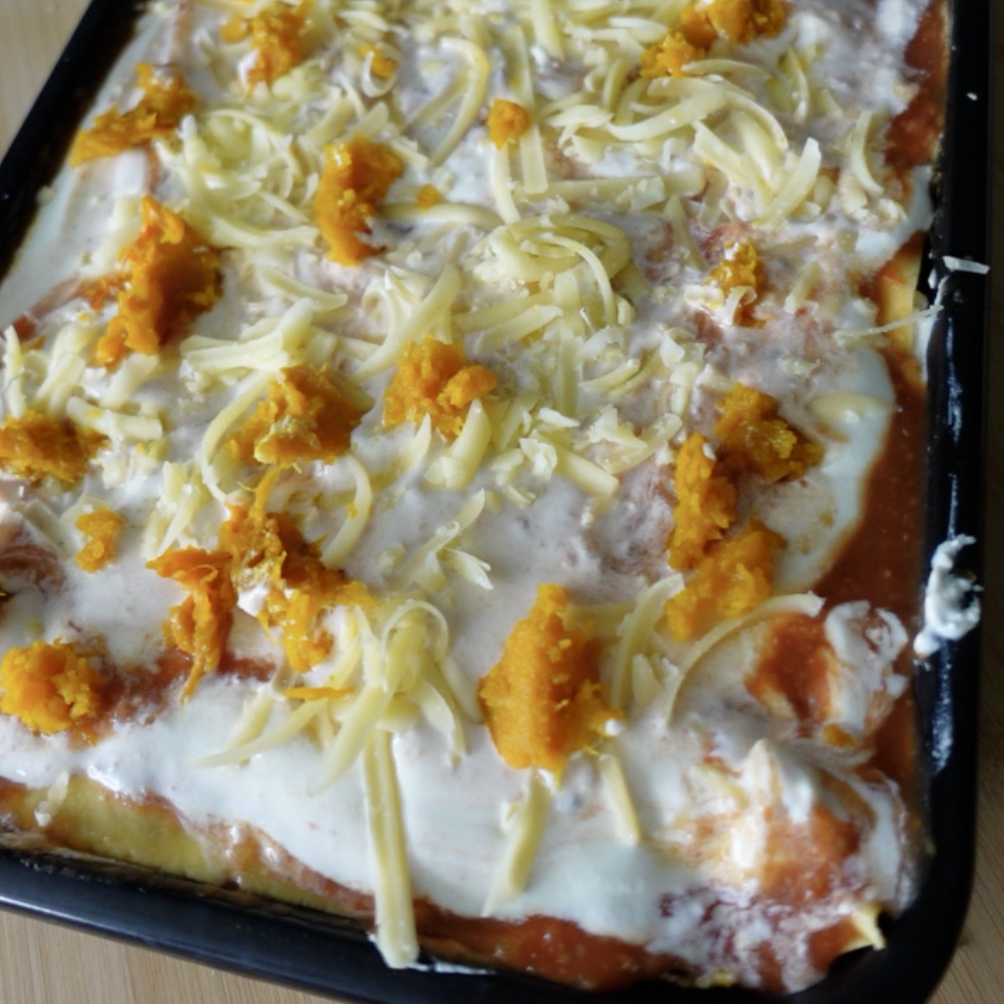
- Begin assembling the lasagne by spreading a layer of red sauce on the bottom of the tray, followed by a layer of the pasta. Then repeat the layers as follows:Red sauce, pumpkin, a pinch of salt, ricotta, cheese, pasta, sauce etc etc until everything is used up, finishing with a layer of ricotta and cheese.
- Bake in a 190C oven for 30-40 minutes, or until the cheese is bubbly and golden on top. If you'd like a little more colour on top, turn the heat up and change the setting to grill for 5 minutes. Keep an eye on it as it can burn quickly. As everything is already cooked, you're really only baking it to marry and melt everything together. Remove from the oven and leave to cool for 20 minutes before slicing.


5 Comments
This pumpkin and ricotta lasagne was the best I have ever tasted! Love the baked and charred tomatoes in the sauce and the baked pumpkin. Highly recommend!
hehe thanks Lisa xoxoxox
Great recipe!
Can I ask what you do with the sauce ingredients? Do you blend it together after baking?
Yes spot on! Sorry if I missed that out in the recipe