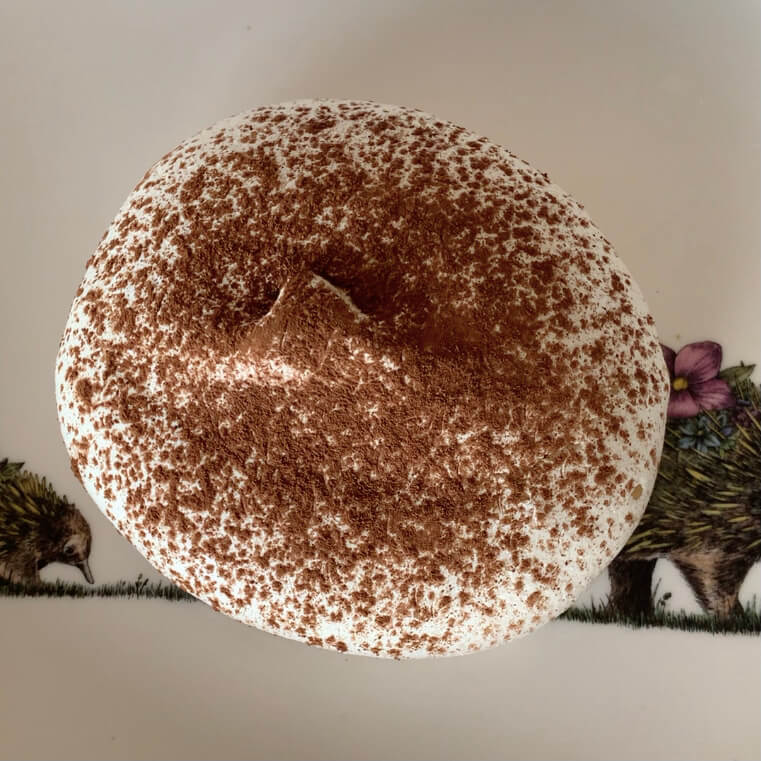
I am super picky about my meringues and will only eat them if they are squishy and marshmallow-y in the middle and crisp and delicate on the outside, almost like a mini pavlova. So if that’s you as well, here’s how to make them.
You only need 2 ingredients to make great meringues (and I italicise ‘need’ because the salt is just there to balance the sweetness but is not crucial for the recipe). What makes meringues even better is that the ratios stay the same no matter if you’re using 1 egg white or 50.
Egg whites – Some people say it’s better to use older eggs for meringues because they whisk up more easily but really it’s much of a muchness. I’ve tried meringues with frozen, fresh and aged egg whites and I haven’t noticed a significant difference so don’t let that stop you.
Sugar – caster sugar will be the easiest to work with because the smaller granule size means it dissolves more quickly, meaning you don’t have to whisk it for as long. But table sugar will work just as well and it’s what I used for this recipe so use whatever you’ve got.
Salt – I always add a bit of salt to my desserts to balance out all of that sweetness. Especially with something like a meringue which is primarily sugar, the salt really makes a difference. But again, if you don’t want to add it, you don’t have to.
STEP 1
Start by separating your egg whites and adding them to a clean bowl along with a pinch of salt. I like to wipe my bowl with a bit of white vinegar before doing anything to remove any traces of fat. Read here on why this is important.
STEP 2
Begin whisking your eggs until soft peaks form. They should be white and hold its shape in the bowl.
STEP 3
Begin adding your sugar roughly 1-2 tablespoon at a time and whisk for about 1 minute after each addition. The meringue mix should be smooth and glossy and hold a nice peak on the end of the whisk. You want to make sure the sugar has fully dissolved, so take a small pinch and rub it between your fingers to feel for any remaining granules.
STEP 4
Add your meringue to a piping bag or scoop them onto a lined baking tray for either a more uniform or free form look. I dusted mine with a sprinkle of cocoa powder here, but that’s totally optional.
STEP 5
Bake them in a 100˚C oven for around 1 – 1.5 hour. The timing doesn’t matter too much, but the longer you leave them, the drier and less marshmallow-y they will be in the centre. They should have no colour and be crisp on the outside when you tap them. Turn off the heat, crack the door and leave them in the oven until it cools. This isn’t crucial but it will help to dry them that little bit further and prevent them from going soggy.
Make sure there is no egg yolk in your whites and that your bowl is clean
This is one thing I will say that isn’t a farce. The slightest trace of fat in your egg whites will inhibit them being able to whip and hold a peak because of some scientific reason that isn’t worth explaining. Basically, when you start whipping an egg white, the proteins uncoil, then as you continue to whisk, they reattach loosely but this time surrounding pockets of air and basically any fat stops this reformation.
Make sure there are no granules of sugar left
When you think your egg whites are whipped enough, grab a small amount of the mixture and rub it between your fingers to make sure there aren’t any remaining sugar granules. It doesn’t have to be perfect, but if there are too many undissolved pieces of sugar, it means it’s not fully dissolved into the protein layer of the egg whites. When this happens, your meringues won’t come out crisp and they might seep liquid during baking as the sugar melts out of the meringue. Another thing that might happen is that your meringues will have small dots throughout as a result.
Make sure your oven isn’t too hot
The aim of meringues is simply to dehydrate them, rather than to cook them. If your oven is too hot, the sugar with caramelise and your resulting meringue will be brown, soft, chewy and powdery.
Mon Mack Food is my little space to share my passion for food. It is also a place to document the recipes I’ve created while cooking for friends and family! While it is now just a hobby, my absolute dream is to build this project into something I can one day call my job 🙂